

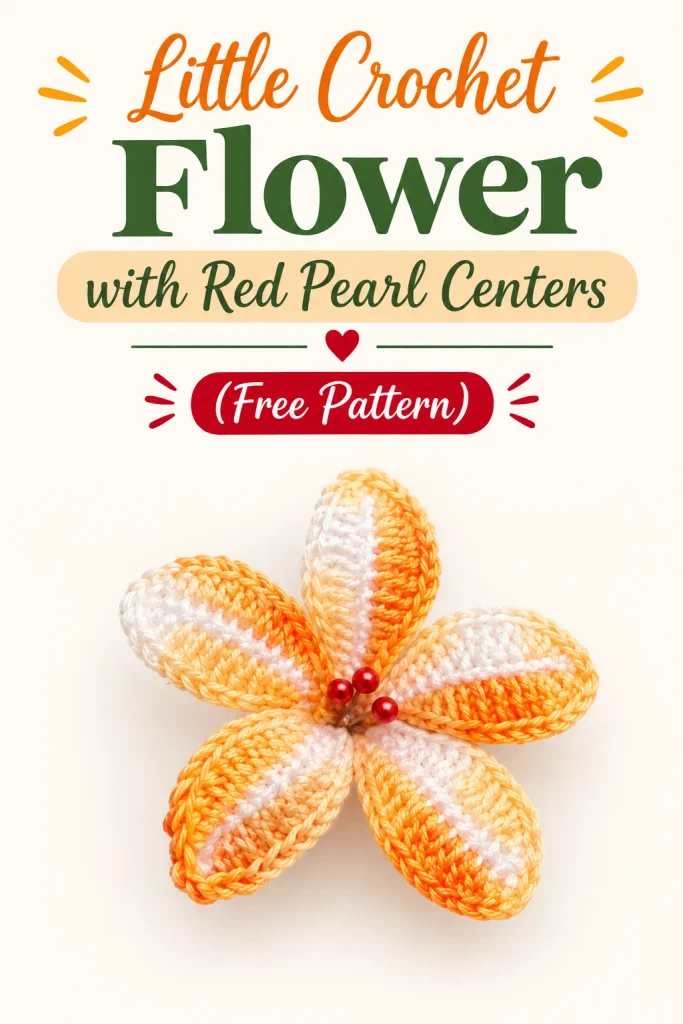
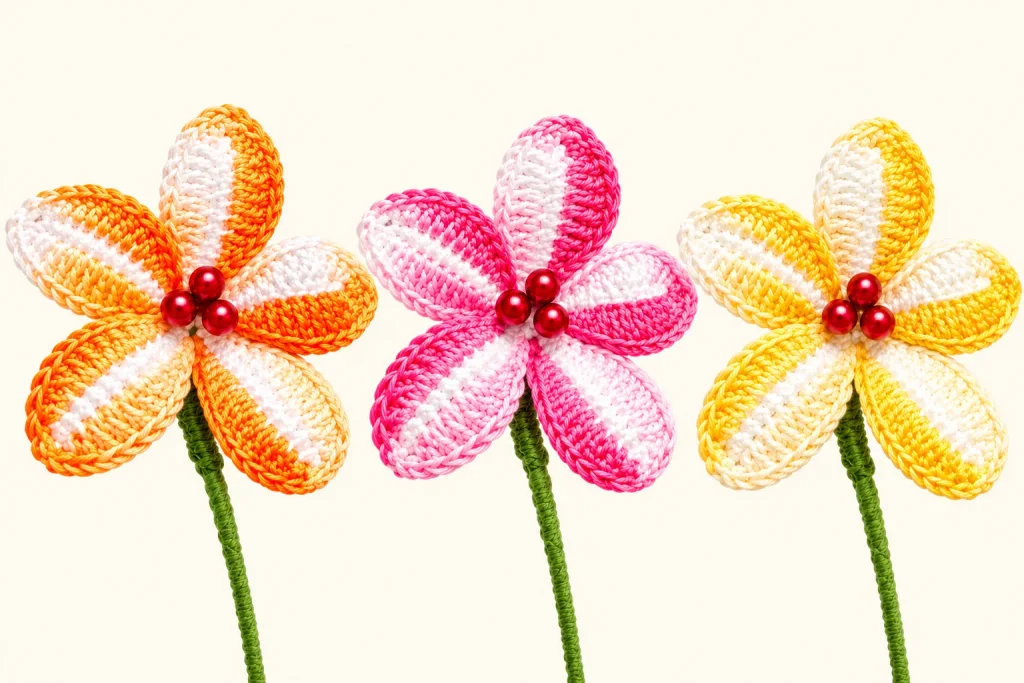
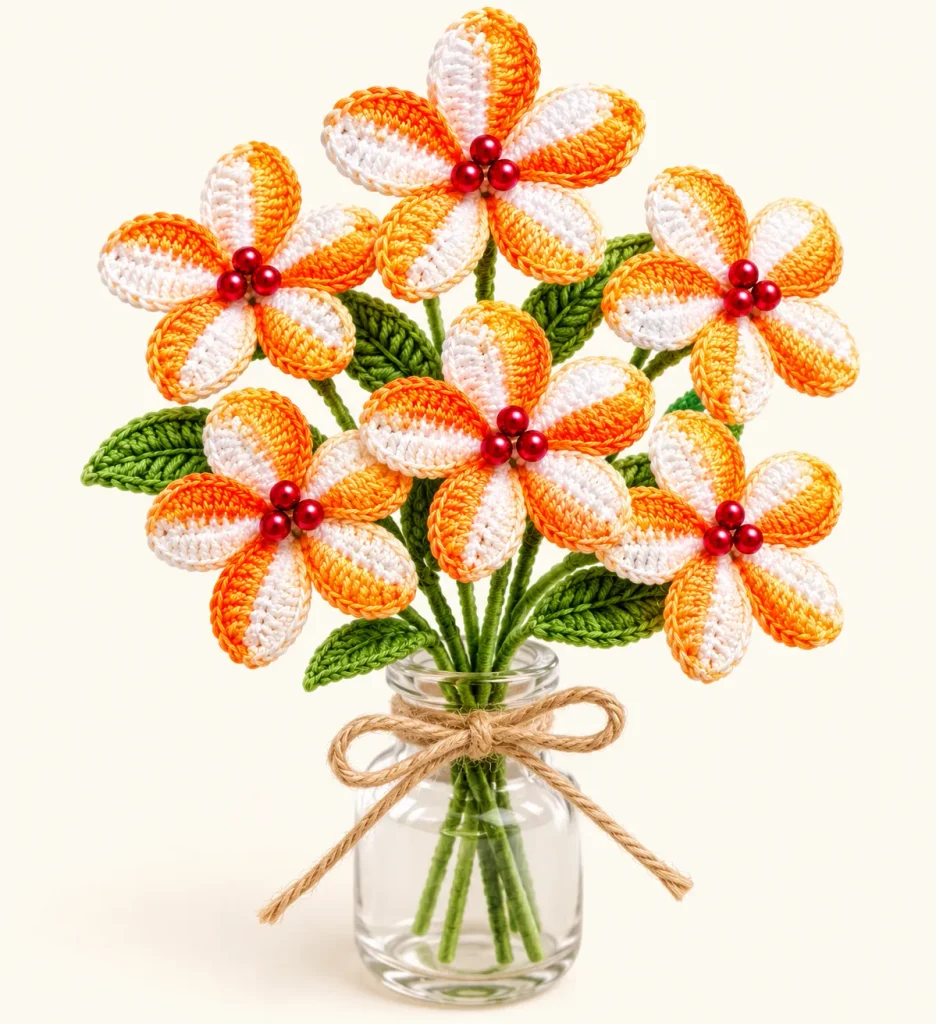
This little flower has five slim, pointed petals, a softly shaded white and orange palette, and a trio of red pearl pistils at the center. The wired stem lets you bend it, pose it, and drop it into a bud vase. The petals are worked directly from the center, so there is no sewing and no assembling petals one by one.
Below you’ll find the materials, the full round-by-round pattern, and clear instructions for adding the wire stem and pearl pistils.
Save This on Pinterest!
Don’t have time to read this tutorial on crochet symbols and abbreviations right now? Save it on Pinterest so you can come back later and use this Little Flower Crochet Pattern
See video tutorial
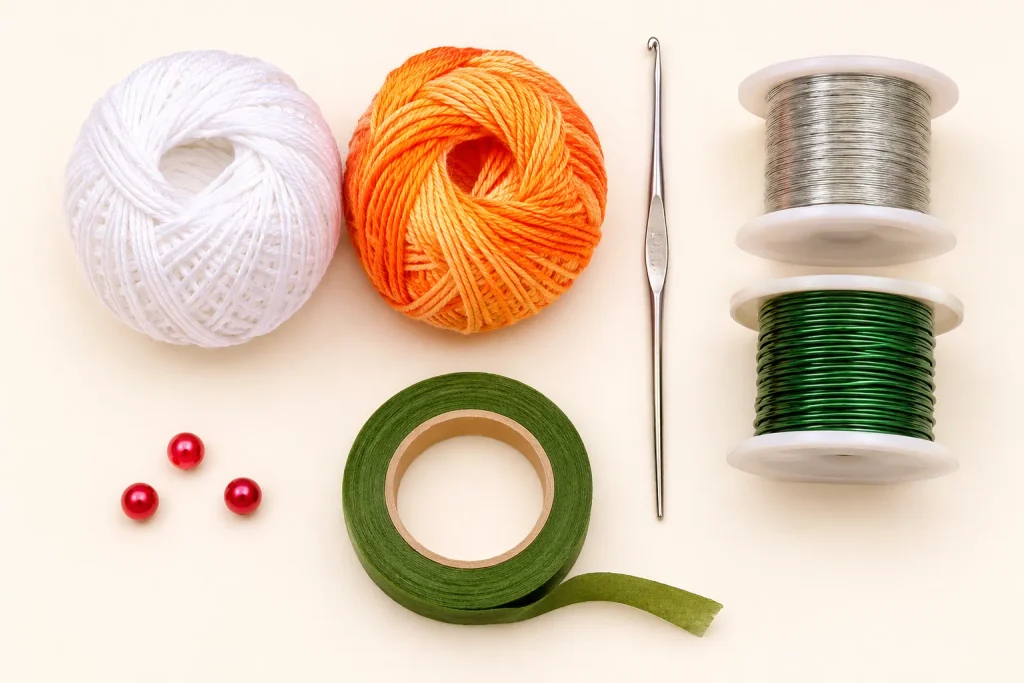
What You’ll Need
Yarn
- Cotton 8 in white
- Cotton 8 in soft orange
Hook
- Crochet hook size B (1.90 mm)
Other supplies
- Wire, 0.8 mm
- Wire, 0.3 mm
- 3 red pearls
- Green floral tape
Abbreviations
- ch: chain
- sc: single crochet
- dc: double crochet
- st: slip stitch (used for joining)
- Rnd: round
Take Look : Crochet Symbols and Abbreviations: A Beginner-Friendly Guide
About This Pattern
The flower has two parts: the receptacle, which is the small cup-shaped center, and the petals, which grow out of it. Each petal is worked along its own chain and then built up on both sides. The wires and pearls come last.
The photo of the finished flower shows white and soft orange blending across the petals. The pattern lists both colors, so you can follow your own preference for where each one goes.
You May Also Like
- How to Crochet a Calla Lily: Easy Step-by-Step Tutorial
- Crochet Holly Leaves and Berries: 8 Easy Patterns
- Crochet Daisy Flower Applique: Ideas and Uses
- Crochet Flower Hair Accessories
- How to Crochet a Poppy: Easy Step-by-Step Flower Pattern
Receptacle
Begin with 5 ch. Join with 1 st to form a ring.
Rnd 1: 1 ch, 2 sc together in each chain.
Rnd 2: 10 sc.
Rnd 3: 2 sc together, 1 sc. Repeat from * around.
Rnd 4: 15 sc.
Rnd 5: 15 sc. Join with 1 st.
Petals
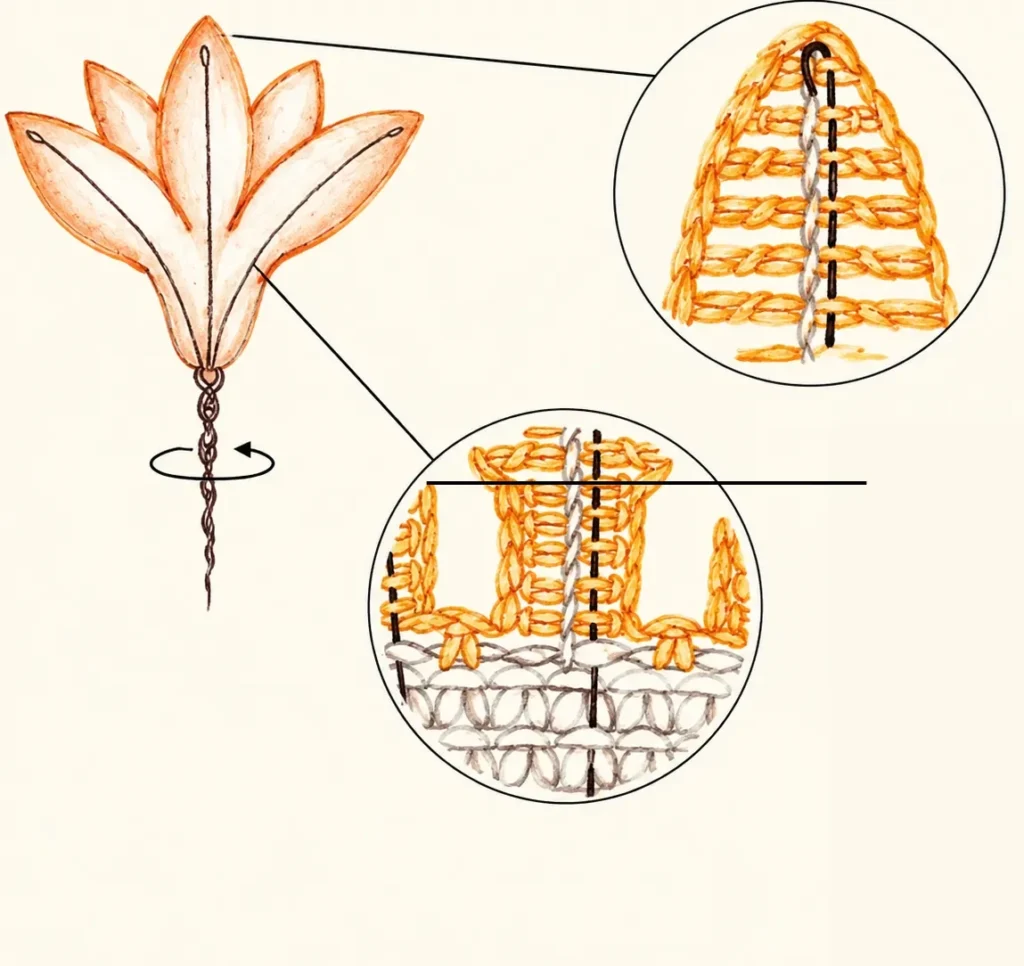
Rnd 6: Begin 15 ch and work 14 sc in each chain across. Continue with 3 sc. Repeat from * around. Break off yarn.
Rnd 7: 5 sc, 7 dc, 4 sc, 7 dc, 5 sc. Skip 1 stitch, 1 sc, skip 1 stitch. Repeat from * around. Join with 1 st. Break off yarn.
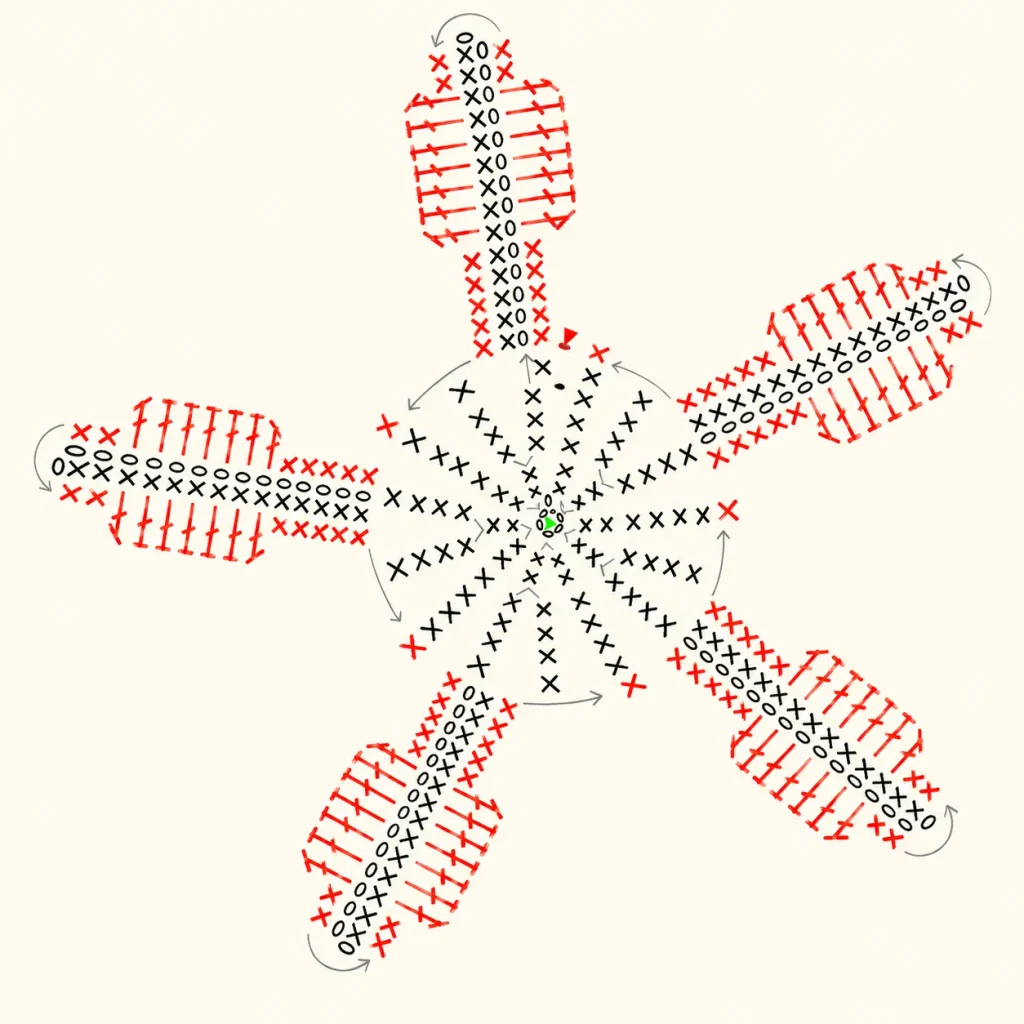
The chart shows how each petal is laid out. The long center strip is the chain from Rnd 6, and Rnd 7 wraps around it so the petal builds up on both sides. The double crochet stitches create the broad, leaf-like shape in the middle of each side.
Pistil
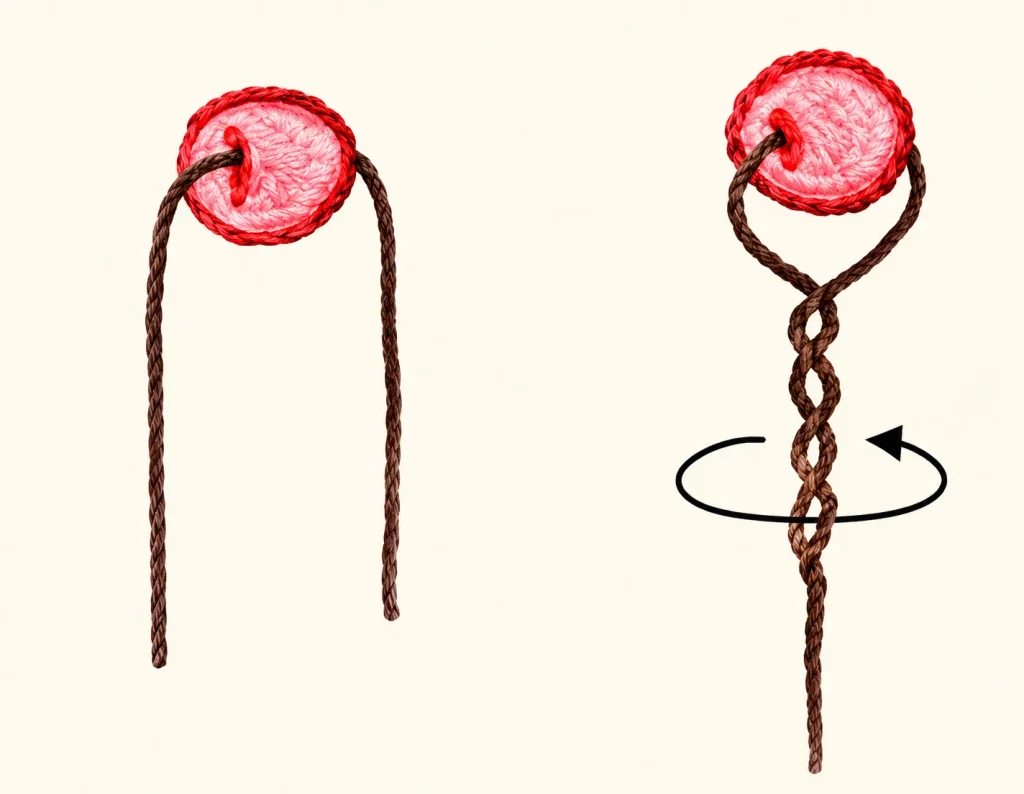
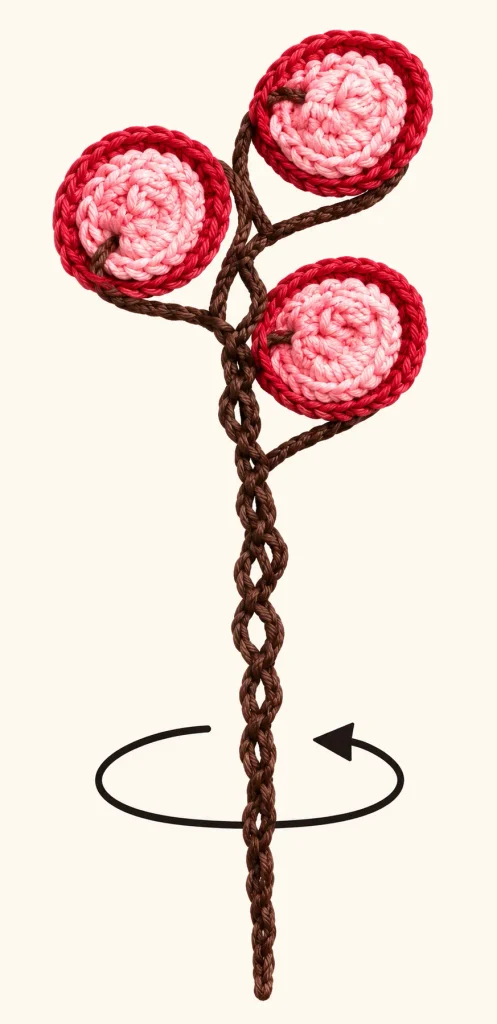
The pistil is three red pearls on twisted wire, which gives the center a small cluster of color.
- Make each pearl stem. Insert a 0.3 mm wire into a pearl and twist the ends together (Fig. 1).
- Make three. Prepare 3 pistils, then twist the corresponding wires together into one stem (Fig. 2).
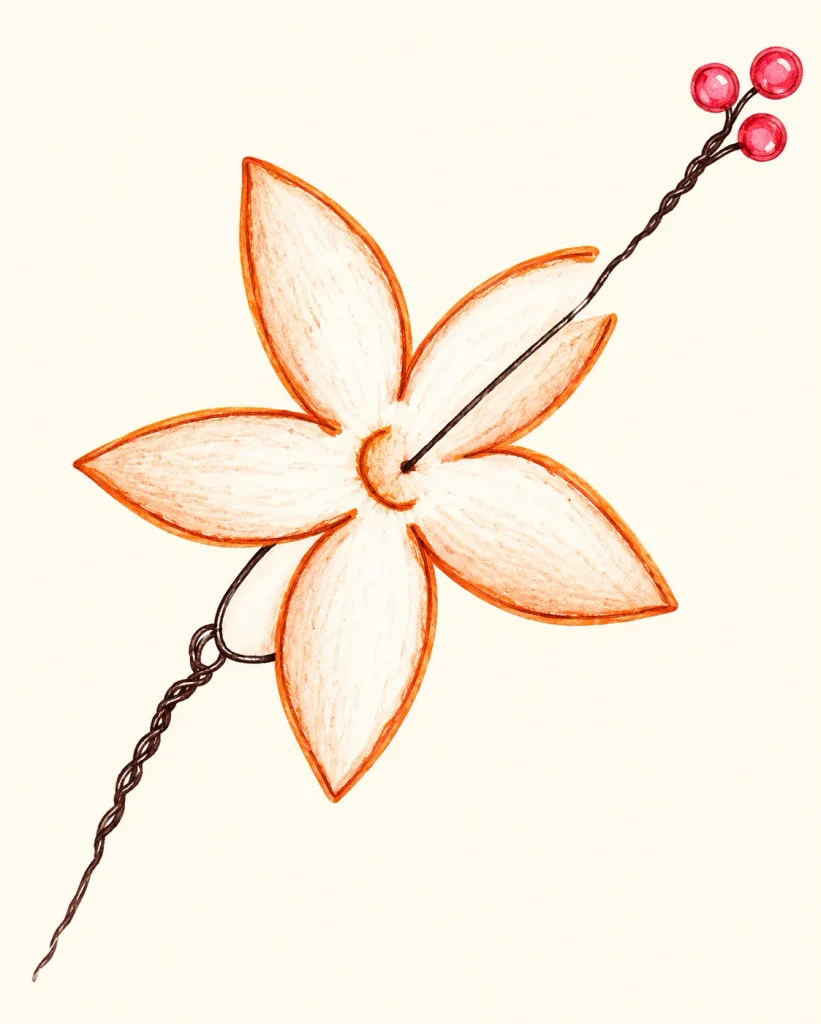
- Wire the flower. Insert a 0.8 mm wire into the back of the flower, starting at the center of the receptacle and reaching the edge of a petal. Bend the wire and twist the ends together (Fig. 3).
- Add the pearls. Insert the pistils into the center of the flower (Fig. 4).
- Finish the stem. Cover the stem with green floral tape.
Color Ideas
Because the pattern uses two colors, the combination changes the whole mood.
- White + soft orange: The version shown in the photo. Warm, sunny, and slightly tropical, with the red pearls adding a bright accent.
- White + soft pink: A gentler, more romantic version that suits a spring bouquet.
- Cream + soft yellow: A buttery, vintage look that works in a cottage-style arrangement.
- White + lavender: Cool and delicate, nice in a mixed vase with greenery.
If you change the yarn colors, consider whether the red pearls still look right. Pearls in white, cream, or a deeper shade of your petal color make a quieter center.
Ways to Use Your Little Flower
Since this flower is wired, you can place it wherever a stem would go.
- A single stem in a bud vase. The shaped petals and pearl center look polished even with just one flower.
- A small bouquet. Group several in the same colors or mix them with other crochet flowers and leaves.
- Gift toppers. Attach one to a wrapped present for a keepsake that outlasts the paper.
- Wedding or event details. A few stems can sit in small vases, tie onto favors, or be added to a boutonniere or bouquet.
- Home decor. Tuck one into a shelf display, a jar on a windowsill, or a spring arrangement.
Tips for a Neat Finish
- Keep the receptacle snug. The center cup shapes the whole flower, so aim for an even, firm fabric.
- Check the petals. Each of the five petals should look similar in length and width before you add wire.
- Twist wire ends smoothly. Press down any sharp ends so they don’t snag the yarn or catch your fingers.
- Wrap the tape slowly. Floral tape sticks to itself when stretched slightly, so wrap it around the stem in an even spiral.
- Shape the petals gently. After wiring, you can lightly curve each petal outward for a more natural look.