

Pattern & Copyright Note: Crochet patterns may vary slightly depending on your yarn, hook size, and personal tension. Use the measurements and instructions as a guide, and adjust your tension as needed. This CrochetFloria tutorial, including its instructions, photos, and original content, is protected by copyright. You’re welcome to make the finished project for personal use or as a gift. Please do not copy, republish, or redistribute the pattern or photos. To share it, please link to the original CrochetFloria article.
Affiliate Disclosure: We earn from qualifying purchases made through the affiliate links in this article, at no extra cost to you. We only recommend products that may be useful for your crochet projects.
Crochet roses are much easier to make than they might look at first. If you’ve seen a crochet rose before, you might think it takes a lot of small pieces, separate petals, and complicated shaping. It actually works in a much simpler way. You crochet one long strip with a ruffled edge, then roll that strip around itself until it starts to look like a rose. Once you understand how the strip works and how to shape it while you roll it, the whole project becomes much easier.
This is a lovely project to try if you’re still getting comfortable with crochet flowers. You don’t need to make each petal separately or spend a long time sewing lots of small pieces together. Most of the work happens while you crochet the strip, and the final shape comes from the way you roll and secure it. You can keep the center tight for a small rosebud, or loosen the outer layers to make a larger flower with open petals.
Another nice thing about crochet roses is that you can change them to suit almost any project. Make a few small roses from leftover yarn and use them on hair clips, brooches, cards, or gift wrapping. Make them in several colors and combine them with crochet leaves for a handmade bouquet. Larger roses can also be sewn onto bags, hats, blankets, wreaths, baskets, and other home décor pieces.
For this tutorial, I’ll walk you through the basic process from the first chain to the finished flower. I’ll also share a few simple tips for choosing your yarn, changing the size of the rose, shaping the petals, and keeping the finished flower securely together. Once you make your first one, you’ll probably find yourself wanting to try the same pattern in different colors and sizes.
Before starting, we’ve got some other related Crochet articles, Take a Look:
- How to Crochet a Rose: Easy Step-by-Step Flower Tutorial
- How to Crochet a Sunflower for Home Decor and Gifts
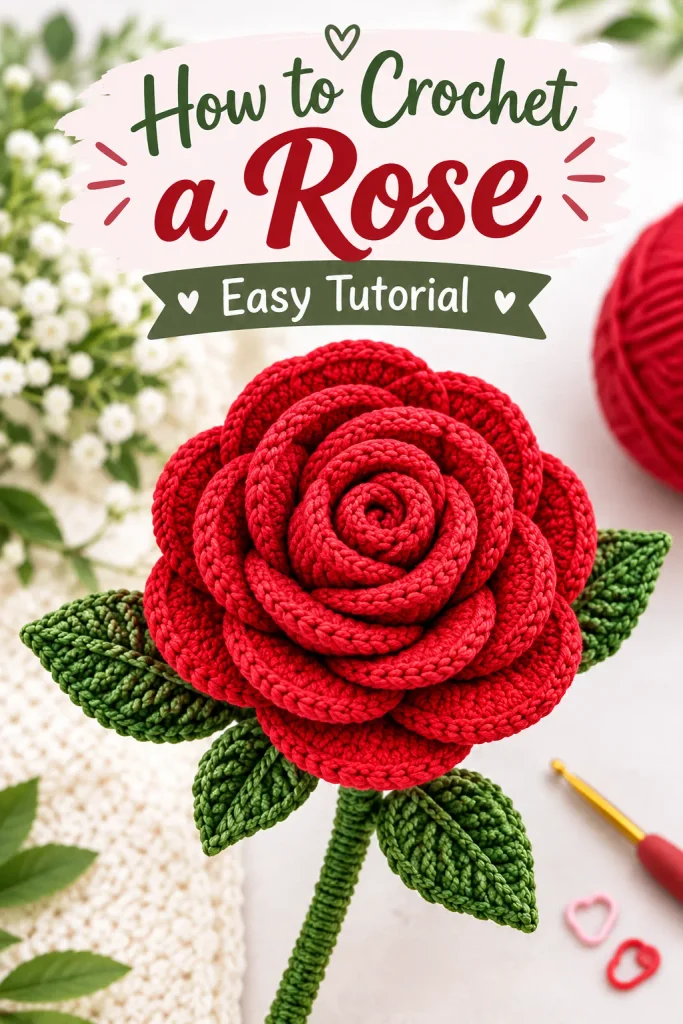
Save This on Pinterest!
No time to read this Halloween Crochet Decorations? Click on the save button and pin it for later!
What You’ll Need
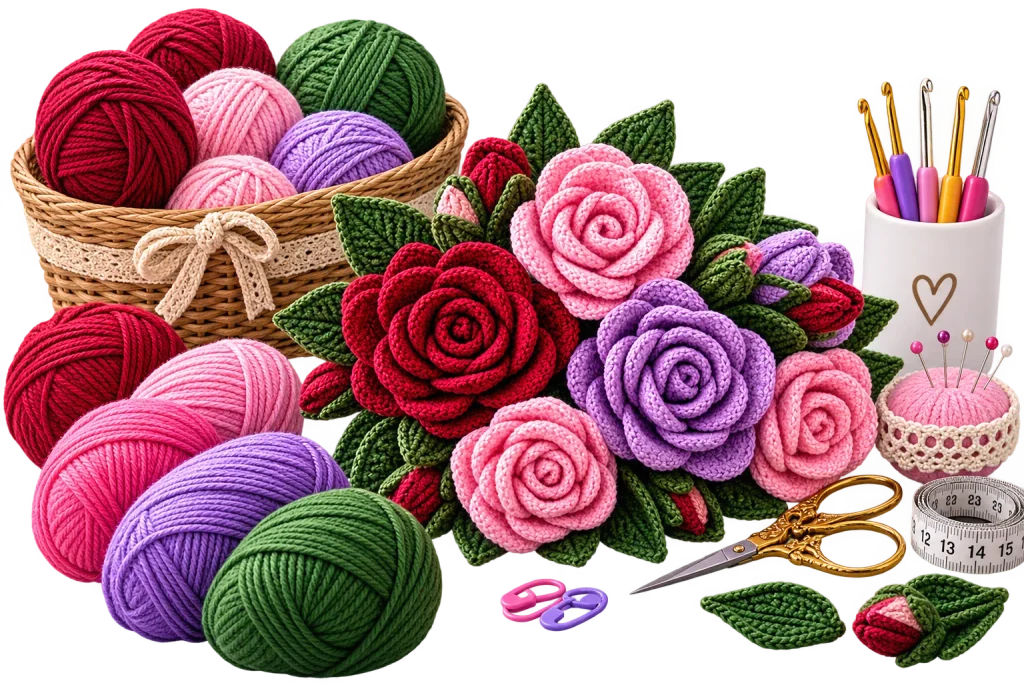
- Medium-weight cotton or cotton-blend yarn
- 4 mm crochet hook
- Tapestry needle
- Scissors
- Stitch marker, optional
- Small amount of green yarn, if adding a leaf
Crochet Rose Pattern at a Glance
| Skill level | Beginner |
| Terms | US crochet terms |
| Yarn | Medium-weight cotton or cotton-blend |
| Hook | 4 mm |
| Stitches used | Chain, single crochet, half double crochet, double crochet, slip stitch |
| Finished size | About 2½–3½ inches wide, depending on yarn and tension |
The finished size varies because the final flower depends on how tightly you roll and shape the strip — that part is up to you, not the stitch count.
Crochet Abbreviations
- ch — chain
- sc — single crochet
- hdc — half double crochet
- dc — double crochet
- sl st — slip stitch
- st — stitch
What a Crochet Rose Actually Is
Instead of crocheting individual petals and stitching them together, this rose comes from a single strip with an uneven stitch pattern along one edge. Shorter stitches keep one section low; taller stitches and increases make the next section flare out. That contrast is what gives the strip its ruffled, wavy edge — and once you roll that edge into a spiral, it reads instantly as petals.
How to Crochet a Rose
The rose comes together in two parts: first you crochet the ruffled strip, then you roll and sew it into a flower.
1. Make the Foundation Chain
Start with a slip knot and chain 41.
This length sets how many “petals” of ruffle your strip will have once rolled. A relaxed, not-too-tight chain makes the next row easier to work into.
2. Crochet the First Row
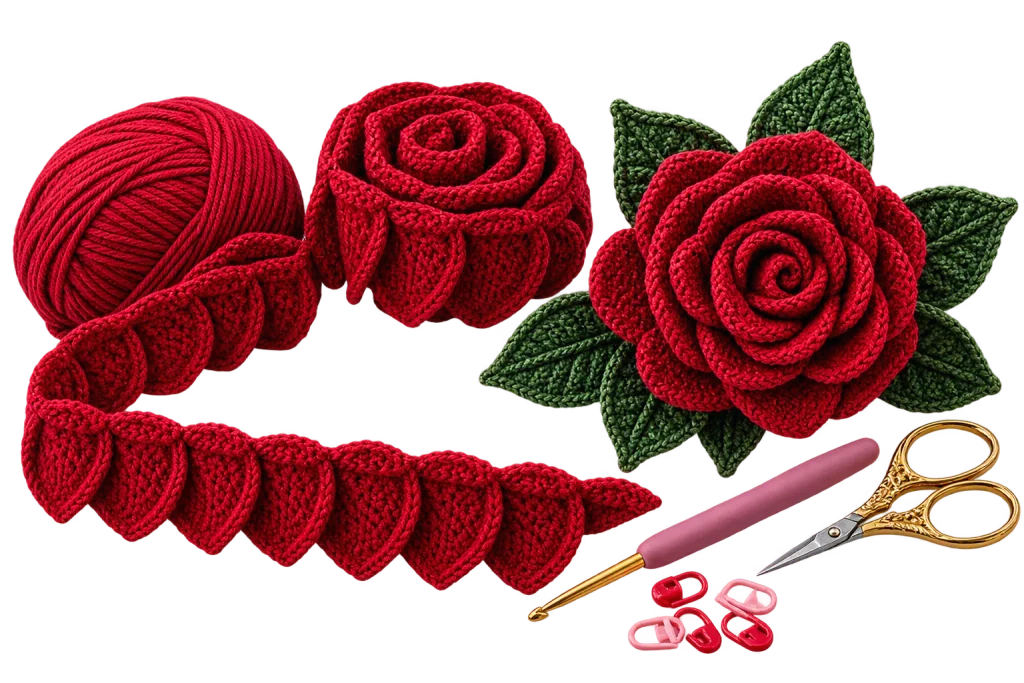
Starting in the second chain from your hook, work: sc in the next stitch, hdc in the next stitch, 2 dc in the next stitch. Repeat this sequence across the foundation chain.
By the end of the row, the strip should already have a gently increasing, uneven edge — the beginning of your ruffle.
3. Build the Ruffled Petal Edge
Turn and work a second row across the strip, this time using taller stitches and a bigger increase: sc, hdc, 2 dc, 2 dc in the next stitch. Repeat across.
This row is where the real ruffle forms. The taller stitches and extra increases make the strip curl and gather on its own — that curved edge becomes the outside of your petals.
The strip won’t look much like a rose yet, and that’s normal. It starts to look like a flower the moment you begin rolling it.
4. Roll the Strip Into a Rose
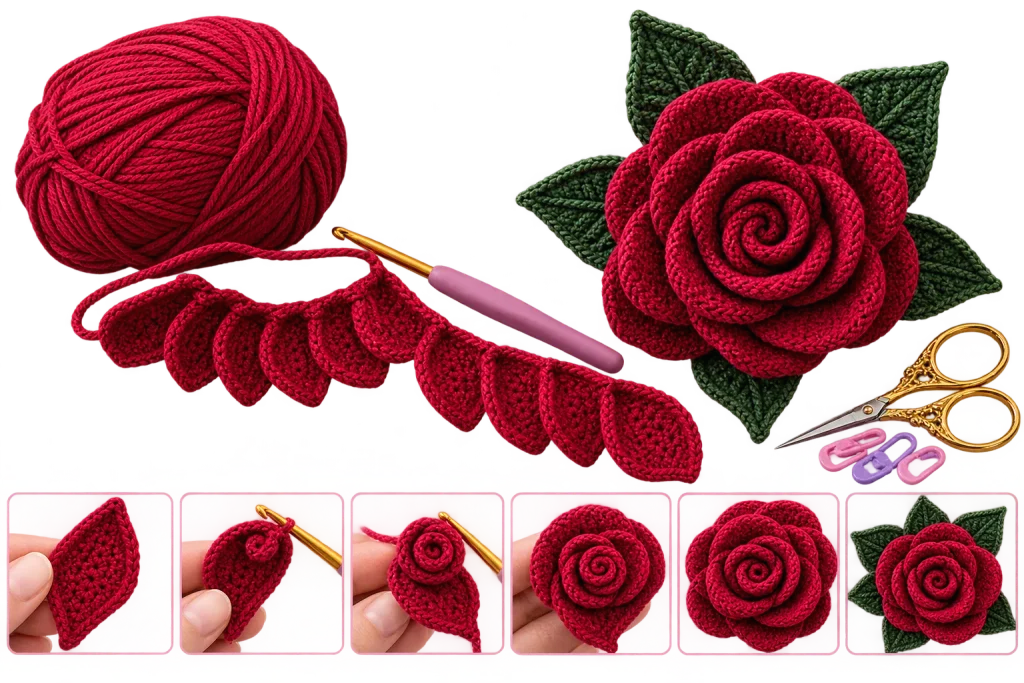
Lay the strip flat with the ruffled edge facing up. Starting at one end, roll it inward, keeping the bottom edge fairly straight while the ruffled edge stays on the outside. As you roll, the ruffles overlap into layers that read as petals.
This is where you choose the personality of your flower:
- Rosebud — roll the whole strip tightly
- Small open rose — keep the center tight, but loosen the outer layers slightly
- Full, open rose — roll the outer layers loosely so the petals spread outward
There’s no single correct roll. Small differences here are what make each handmade rose look a little different from the last.
5. Secure the Base
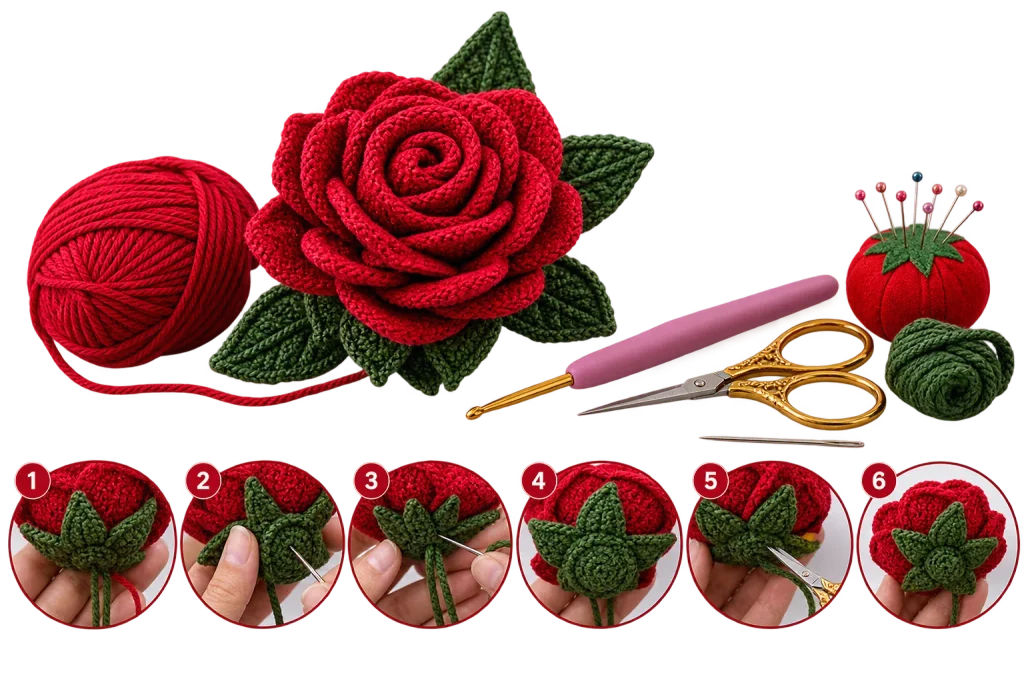
Thread your tapestry needle with the yarn tail. Turn the rolled flower over so you can see the bottom, and stitch through several layers of the base — not just the outermost edge — pulling the yarn through each pass. Work stitches around the whole base until the layers feel locked together.
Once it’s secure, take a few extra stitches, weave the tail through the back, and trim.
6. Shape the Petals
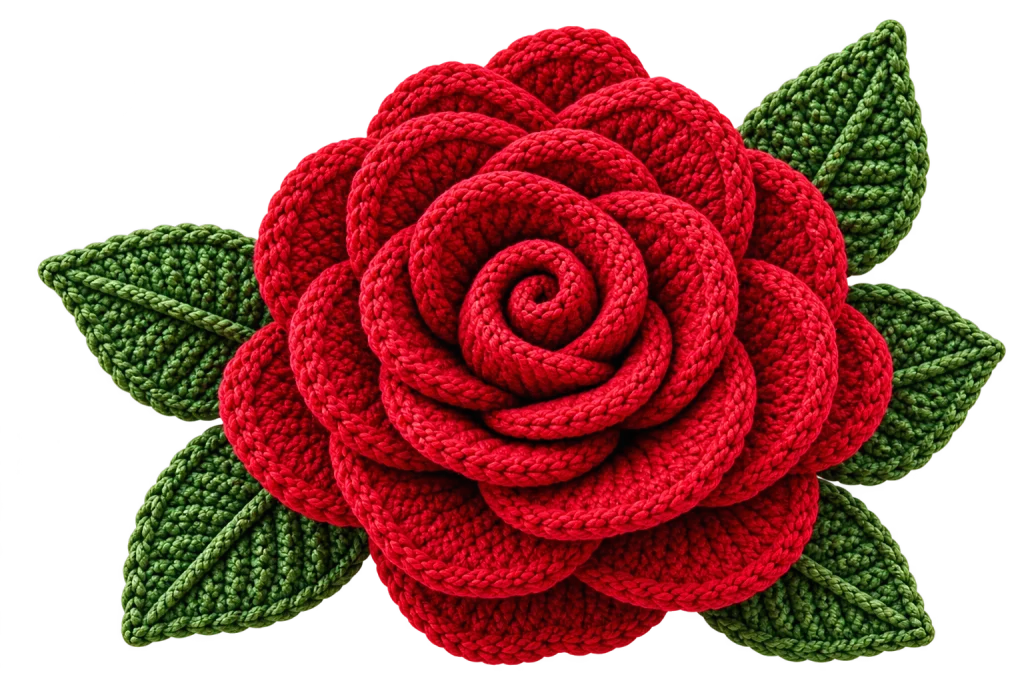
Turn the flower right-side up and adjust it with your fingers: ease a few outer petals outward for a more open look, tighten the base stitches if the center feels loose, or loosen the outer layers if the whole flower looks too compact. This last step is quick, but it’s what gives the finished rose its character — worth taking your time on.
How to Make a Smaller or Larger Rose
The technique stays identical in both directions — only the materials and roll change.
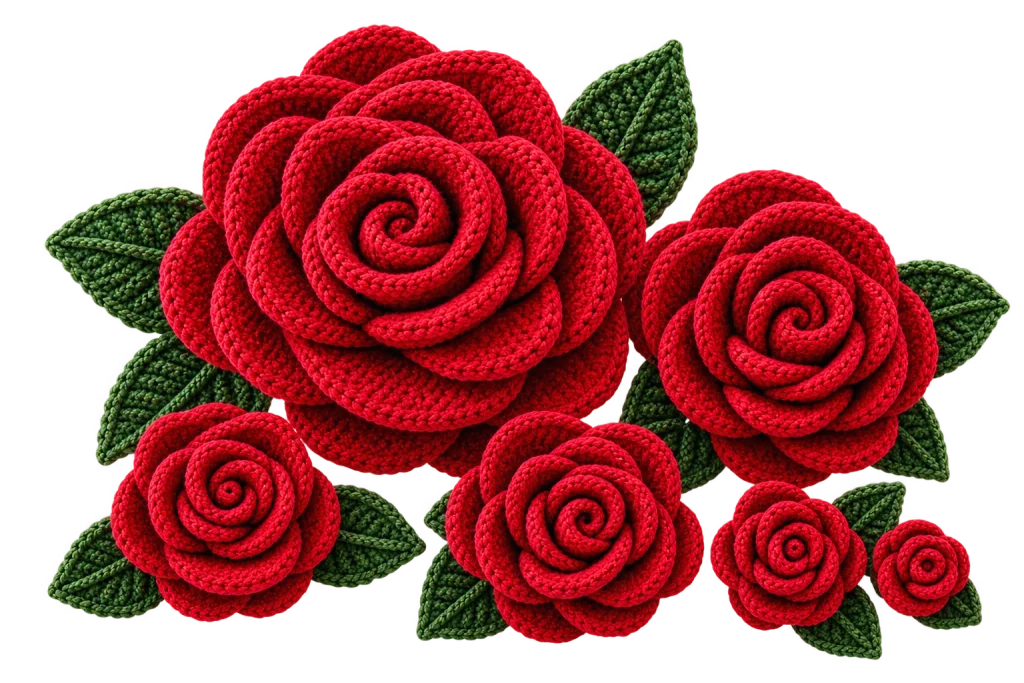
For a smaller rose: use a lighter yarn and a smaller hook, and shorten the foundation chain. A mini rose made this way suits hair clips, brooches, jewelry, gift-wrap toppers, baby accessories, card decorations, and small bouquets where you’re combining several flower types.
For a larger rose: switch to a thicker yarn and a larger hook, lengthen the chain, and roll the outer layers more loosely. More length gives the rose more layers to work with, and thicker yarn makes each petal read as bigger and bolder — a good combination for a standalone decor piece or a statement bag embellishment.
How to Choose Yarn for a Crochet Rose
Cotton is one of the easiest fibers for crochet flowers — it holds stitch definition clearly, so the petal shape stays visible as you roll. A cotton-blend softens that slightly if you want less stiffness. Acrylic is another solid option, especially for bigger decorative roses; it tends to relax into softer petals and comes in a much wider color range.
For a first attempt, reach for something smooth rather than fuzzy or heavily textured. Smooth yarn lets you actually see your stitches, which makes both the crocheting and the rolling far more predictable.
Choosing the Right Color
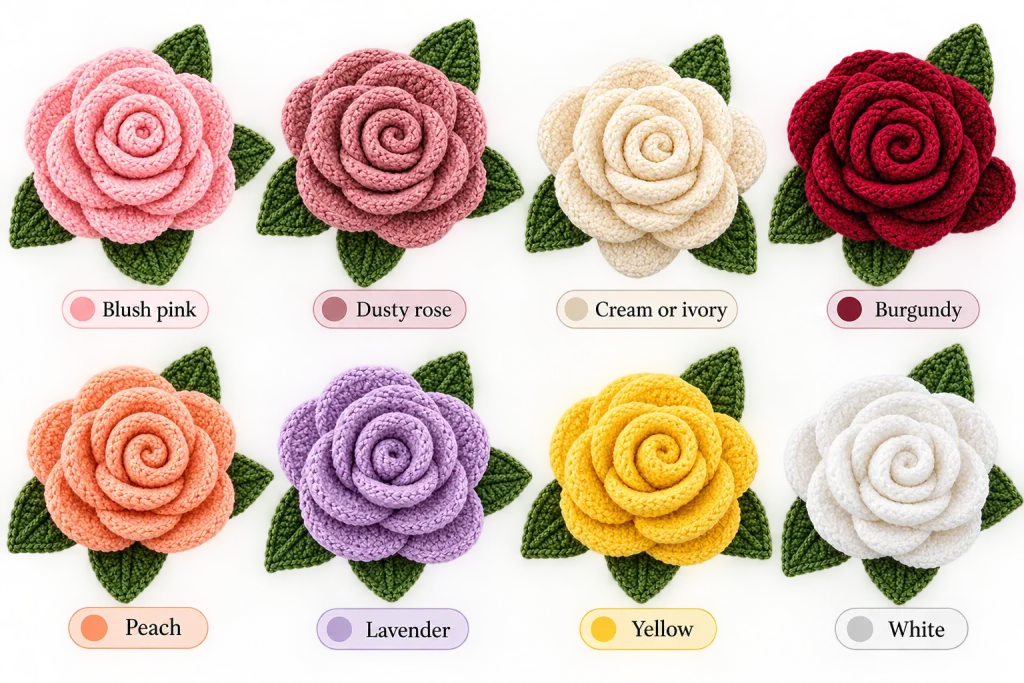
Red is the classic choice, but a crochet rose doesn’t have to stay traditional:
- Blush pink for a soft, romantic look.
- Dusty rose for a muted, vintage feel.
- Cream or ivory for weddings
- Burgundy for a deeper, autumn-leaning bloom
- Peach for a warm spring bouquet
- Lavender for something less expected.
- Yellow for a cheerful arrangement
- White for simple, clean home décor
You can also work two shades together — a darker center with lighter outer petals, for instance — to give the finished rose a subtle sense of depth rather than one flat color.
Add a Crochet Leaf
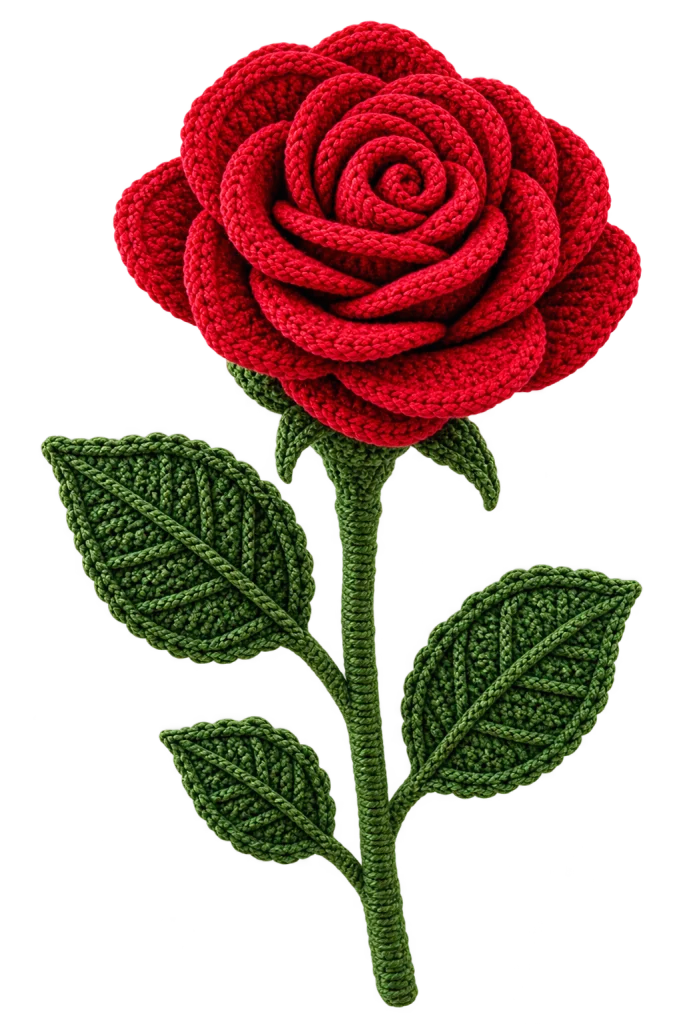
A green leaf finishes a single rose, especially for bouquets or gift décor. You don’t need an elaborate leaf pattern — a short foundation chain worked with stitches that increase toward the middle and taper toward the tip is enough to read as a leaf shape. Sew it to the base of the rose, or attach it partway up a stem if you’re building a full arrangement.
How to Make a Crochet Rose Stem
For an arrangement, cover a length of floral wire with yarn: wrap it directly, or slide it inside a narrow strip of green crochet. Insert the wire through the base of the flower and secure it so the rose doesn’t shift, then tuck one or two leaves near the base. Group several stemmed roses together for a handmade bouquet that holds its shape indefinitely.
Keeping Your Crochet Rose From Unraveling
Everything comes down to the base. When you sew it, pass the needle through several layers rather than catching only the outermost edge, and work several small stitches around the whole bottom rather than just one or two. For a rose that will get handled often — on a bag or headband, say — a very small dot of fabric glue at the base adds insurance. Let it dry fully before using the piece.
Common Crochet Rose Problems
My rose looks flat.
The strip likely needs more ruffle, or the roll is too loose. Add more increases along the petal edge, or roll the center a bit tighter.
My rose looks like a ball instead of a flower.
This is usually the opposite issue — every layer rolled too tightly, leaving no room for petals to spread. Loosen the outer layers while keeping the center secure.
My rose won’t stay together.
Check the base stitching. If only the final edge got sewn down, the middle layers can still shift. Go back through with your needle and stitch across several layers before weaving in the tail.
Can I skip the wire entirely?
Yes — a firmly worked rose holds its shape without any wire at all. Wire mainly earns its place when you want a bendable stem or a very specific, held-open shape.
Ways to Use Crochet Roses
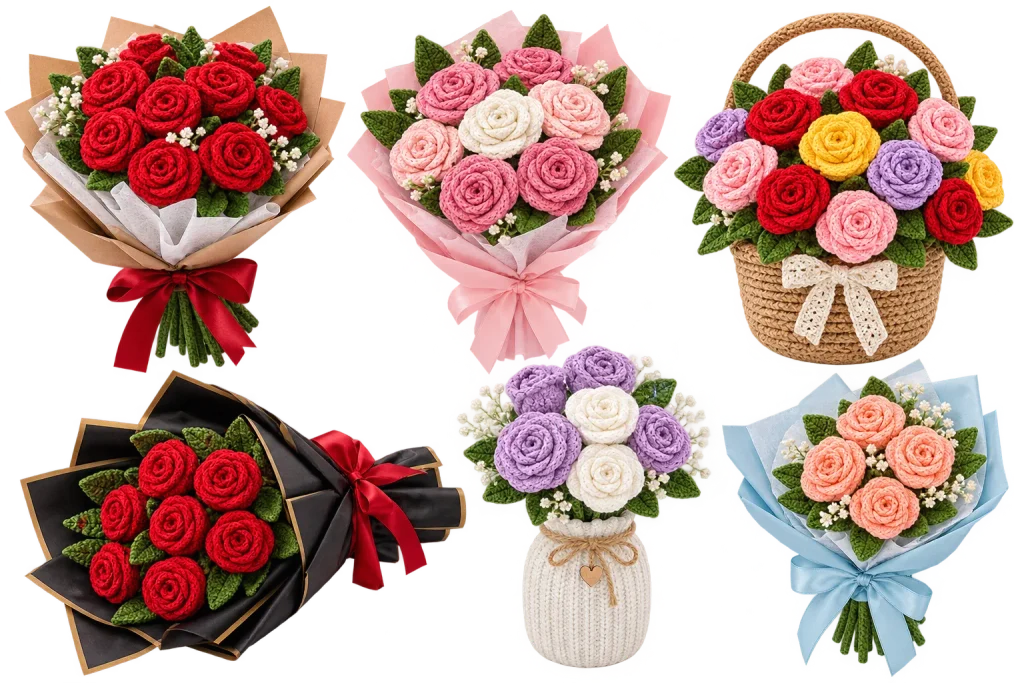
Bouquets. Several roses in varied shades, paired with crochet leaves, become a bouquet that never wilts.
Hair accessories. A single small rose glued or sewn to a clip, headband, or hair tie turns into a quick handmade accessory.
Bags and clothing. Stitched onto a tote, cardigan, scarf, or hat, one rose adds a focal detail without much extra effort.
Home décor. Larger roses suit wreaths, baskets, table arrangements, cushions, and seasonal displays.
Gift wrapping. A small rose tied onto ribbon elevates plain wrapping into something clearly handmade.
Wedding décor. White, ivory, blush, and dusty rose shades show up often in boutonnieres, place-card holders, and favor details, since they outlast fresh flowers by years.
Crochet Rose vs. Other Crochet Flowers
The construction is what sets a rose apart. A daisy or simple five-petal flower is usually built outward from a center point, with individual petals forming around a circle — the result is flat and open. A crochet rose, by contrast, comes from a ruffled strip rolled into a spiral, which is exactly what gives it that layered, curved silhouette instead of a flat one.
Frequently Asked Questions
Is a crochet rose easy for beginners?
Yes. You’re not crocheting and attaching individual petals, which removes most of the fiddly assembly other flowers require. The learning curve is really just getting comfortable with the rolling and shaping.
What’s the best yarn for crochet roses?
Smooth cotton or a cotton blend is the easiest starting point — it shows stitch definition clearly and holds the rolled shape well without extra reinforcement.
How much yarn does one rose take?
Not much — a single rose is a good project for leftover yarn from other projects. The exact amount shifts with yarn weight, hook size, and how large you make the flower.
How do I make my rose look more realistic?
Lean into natural, non-uniform shading, vary the tightness of the outer petals rather than keeping every layer identical, and avoid over-flattening the roll. Small imperfections are usually what make a handmade rose read as realistic rather than “crafted.”
Can I wash a finished crochet rose?
It depends on the yarn and whatever the rose is attached to — check your yarn’s care label first. When in doubt, hand-wash gently and avoid wringing, which can loosen the rolled petals.
Looking for your next crochet project? Here are a few more ideas to try: